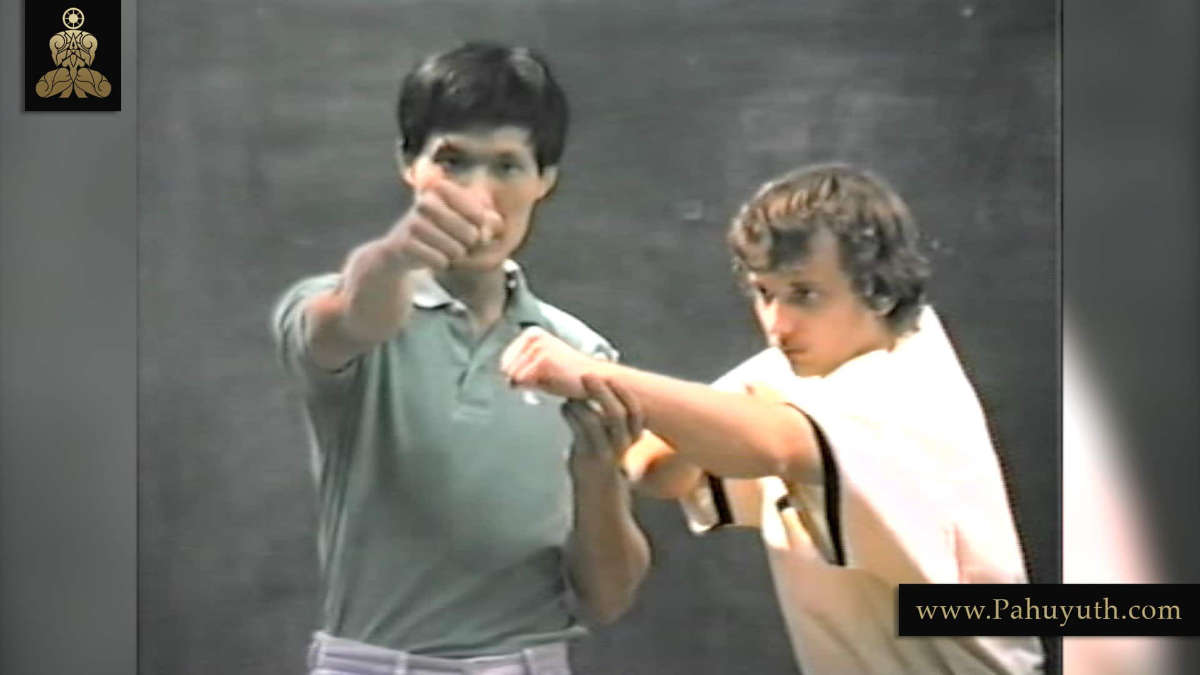
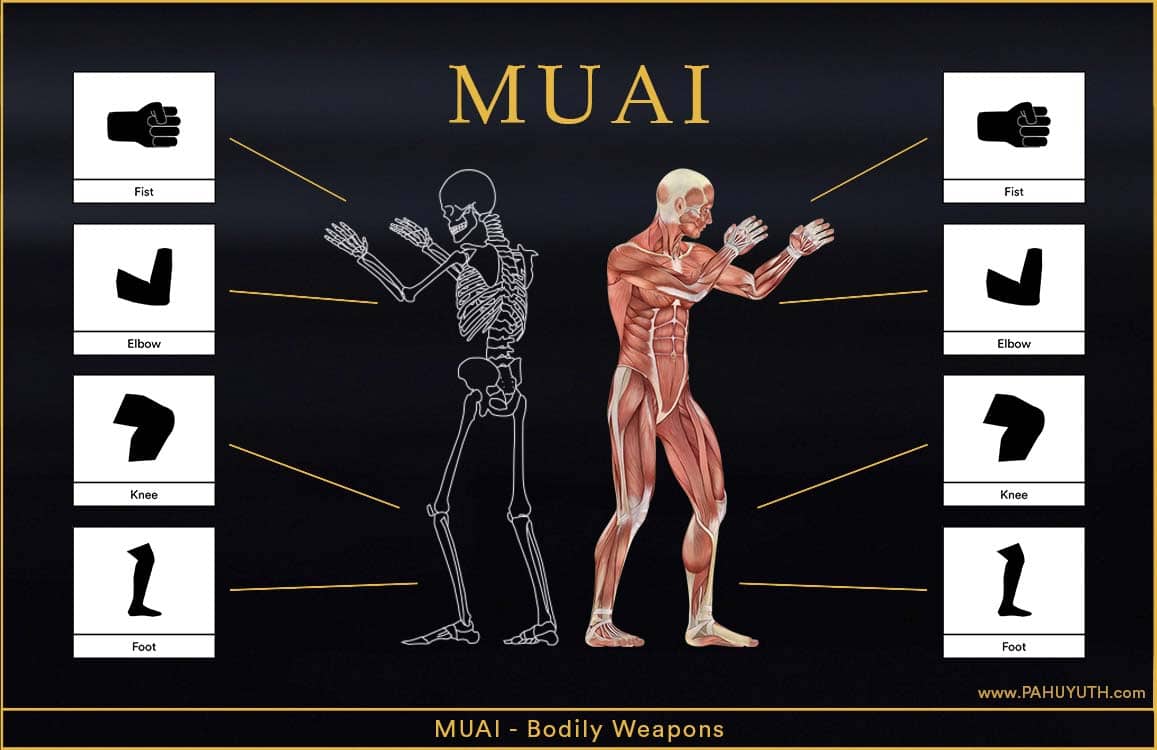
Earlier we learned something about fist techniques. The next, very important element in the art of Thai fighting are the foot techniques. It is said that the Thais use their legs not only for walking. Instead they also use their legs as one of the most important weapons for fighting.
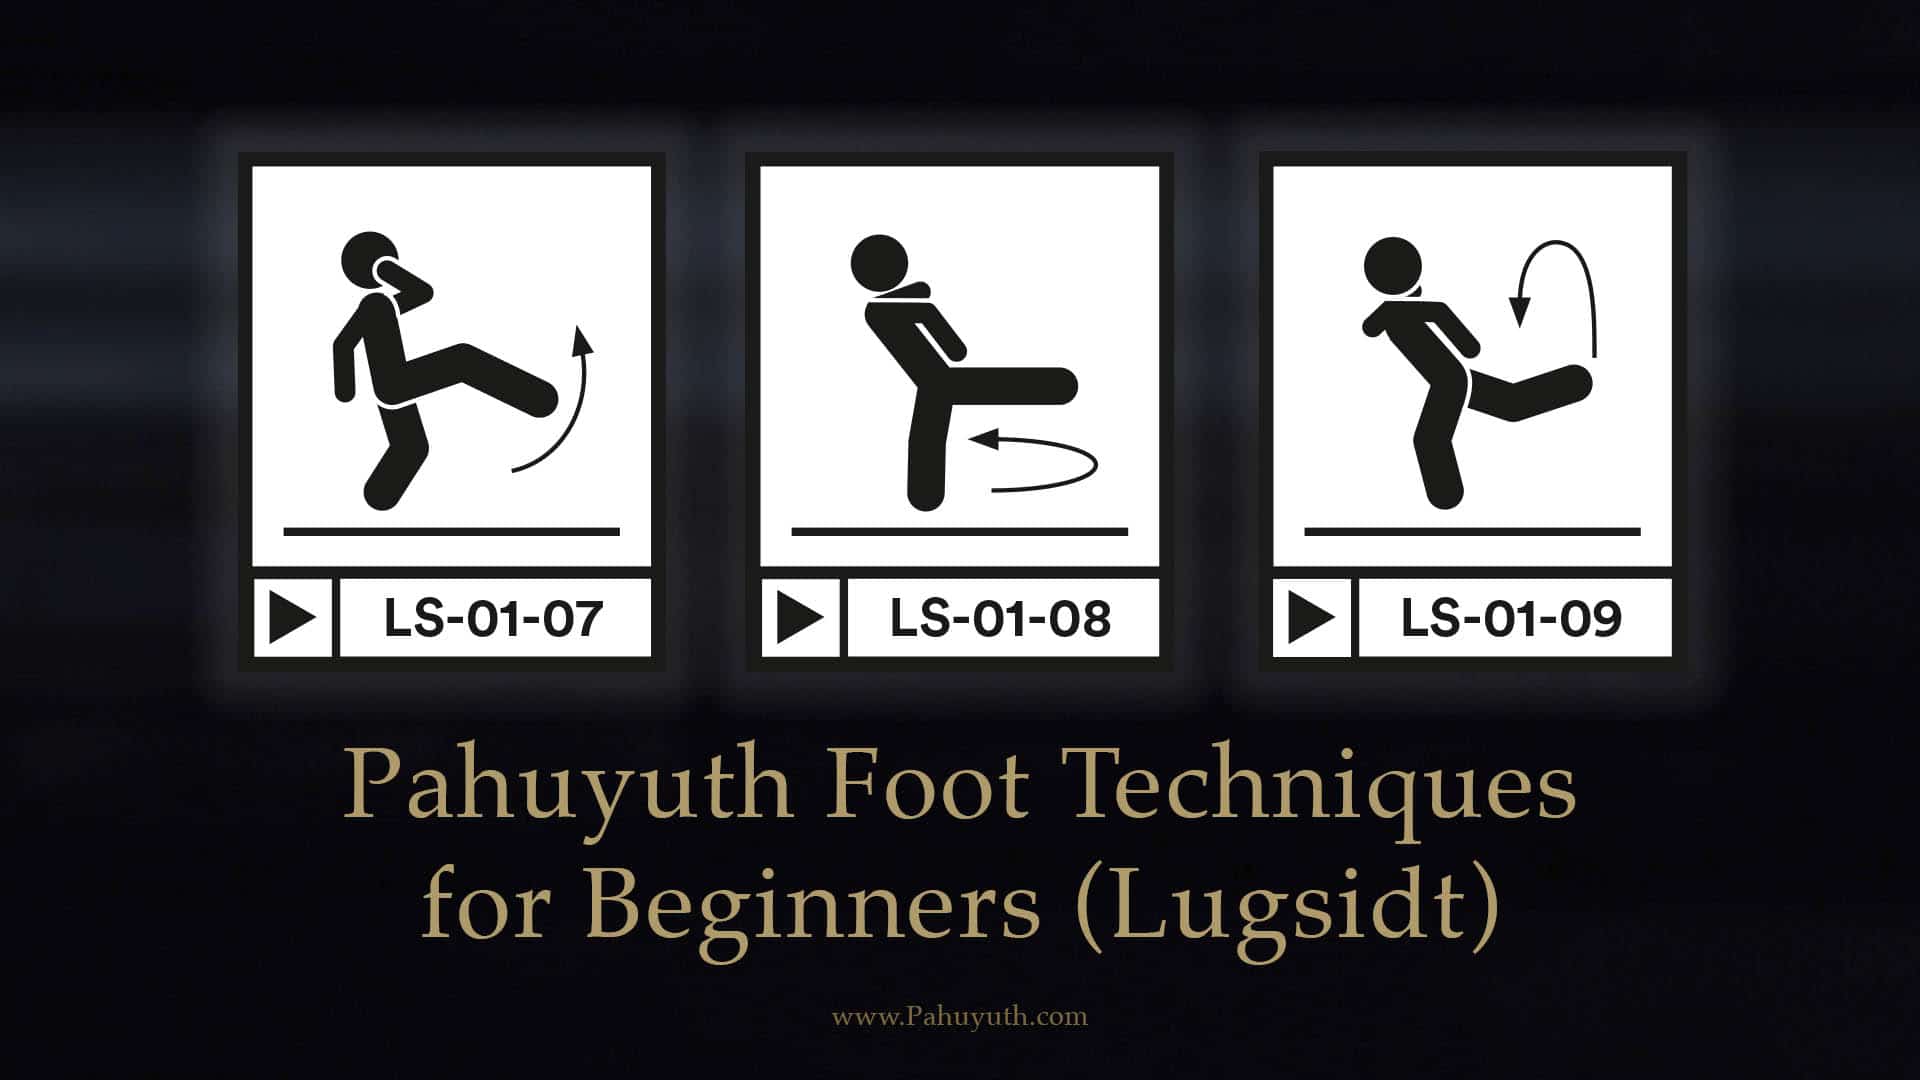
The first basic technique one learns is an ascending foot technique.
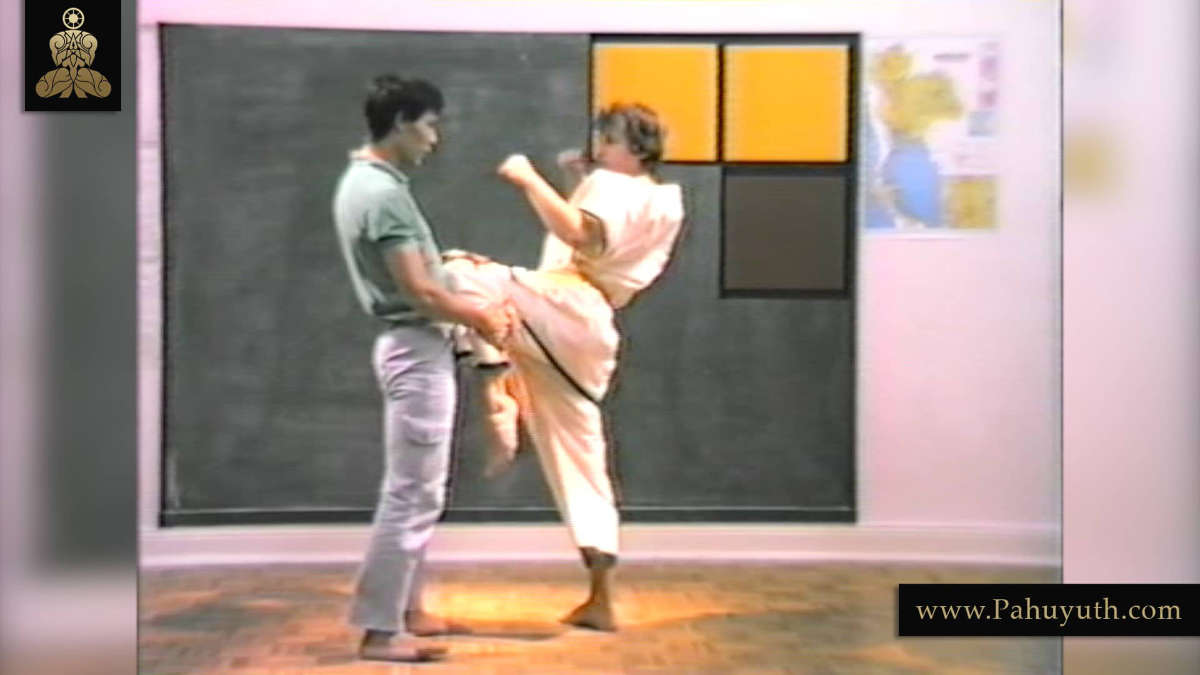
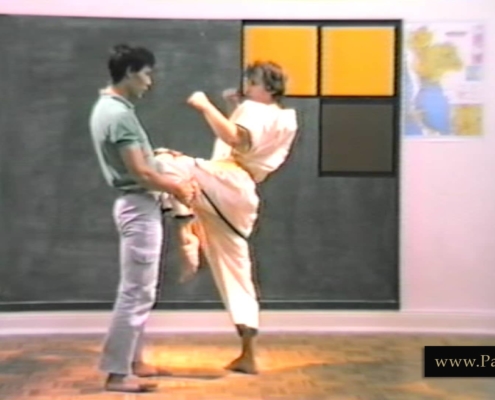
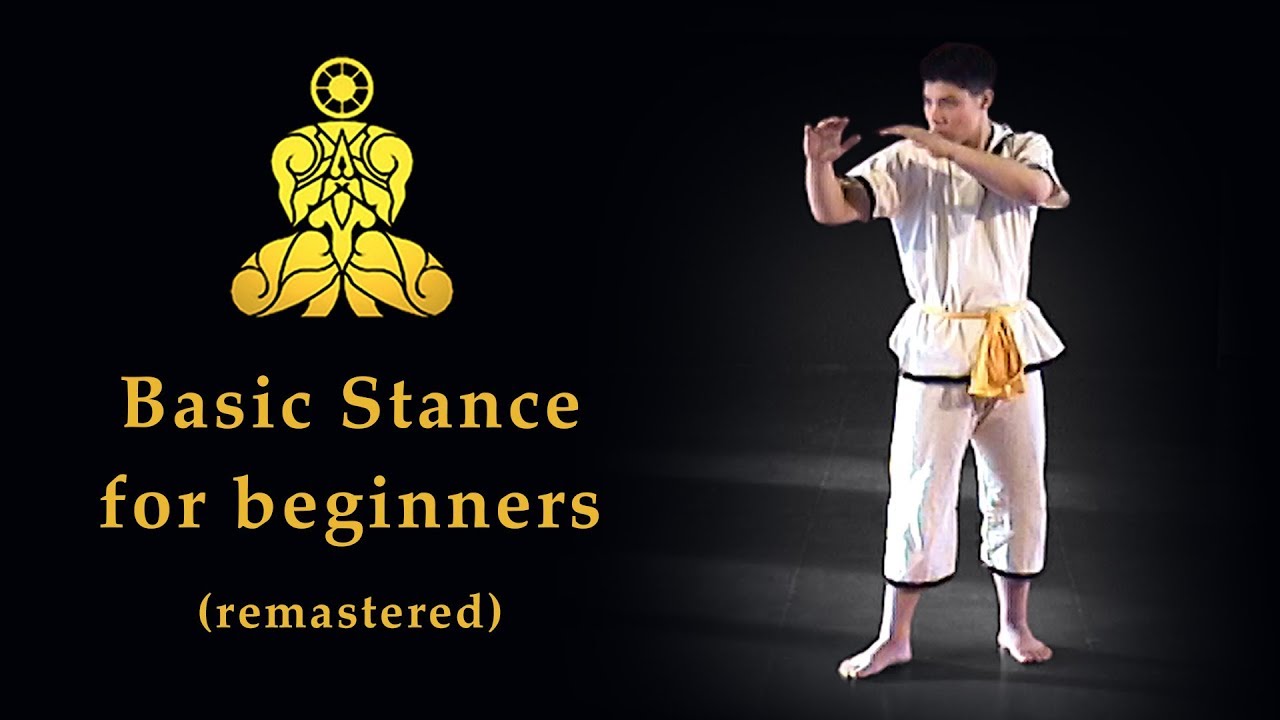
Here it is about learning to lift the leg in the first place. Starting from the basic stance, the leg is simply swung upwards When kicking, always make sure that the knee joint remains slightly angled und der Fuß nicht wie beim Stehen angewinkelt, sondern gestreckt und angespannt wird.
You can use the area from instep to knee. All of this counts into ‘foot’. Make sure that you do not stretch your leg out completely and immediately pull it back again. This damages the knee joint. Instead you kick fast and pull back a little slower, about up to this angle and no more. The leg remains there for a moment and after a split second you return to the basic stance.
You practice by kicking upwards and stop. The other side. Notice that you kick first, then slow down and then return. At higher speeds this is hardly noticeable.
And don’t be disappointed if you can’t kick high right from the start. Some would like to kick to the head immediately, but that is not the value for the Thai. Instead, they say we’re like kids just starting out. You start small and you then grow. Besides, kicks are not only dangerous for the head area.
In fact, this height, which is accessible to most people, is already sufficient. The ribs, the stomach, the whole body is sufficient to harm the opponent.
The kicking techniques of the Thai starts with a simple movement. You simply lift your leg up and slow down in this position.
And after a short moment you return into the basic stance. Never, I want to emphasize that again. I would be very sad if one of my students had to suffer as a result. If you kick and let the knee snap back, it will damage your knee. Meniscus damage in the knee is almost unknown among the Thais. And I don’t want my students to get that.
Remember, when you kick upwards. Slow down. That doesn’t mean you snap back, instead you let the mass of the leg slow down the movement. You only stop with the thigh and not here. Nature makes sure that the leg stops here. Then you put it down.
When practicing you start at a low height and increase the height of your kicks little by little. Later, when you are already very good at it, you turn your hips forward first. Similar to the punches by turning the hip forward.At the same time the knee is pulled up and brought forward.
You first hold the knee like this and then you do the kick. That would be the further development. Over time you learn to lift your knee first and kick afterwards.
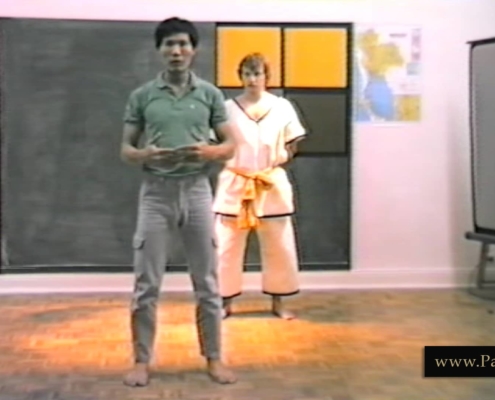
Let me show you an example.
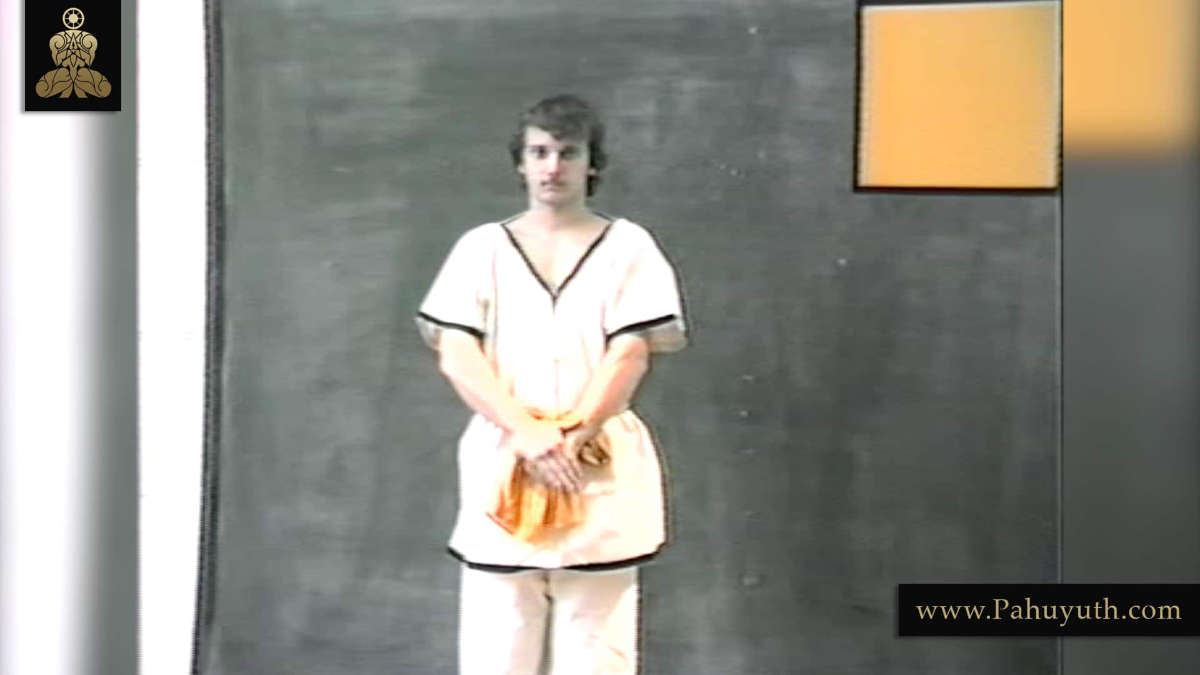
Stand like this … and go back again. Again *kicks* and back. As *coughs* usual, the technique can be done with other side. Just by standing like this. *kicks* and hold. Return.
Of course, in practice you will hardly notice that you are slowing down. You just stand like this, kick and go back. Or from the opposite side, where the same applies. This is a basic kicking technique of the Thai.
The first kick was about how to kick from bottom to top. Following on from this, one learns the next kick.
The next kick is called a ‘parallel kick’.
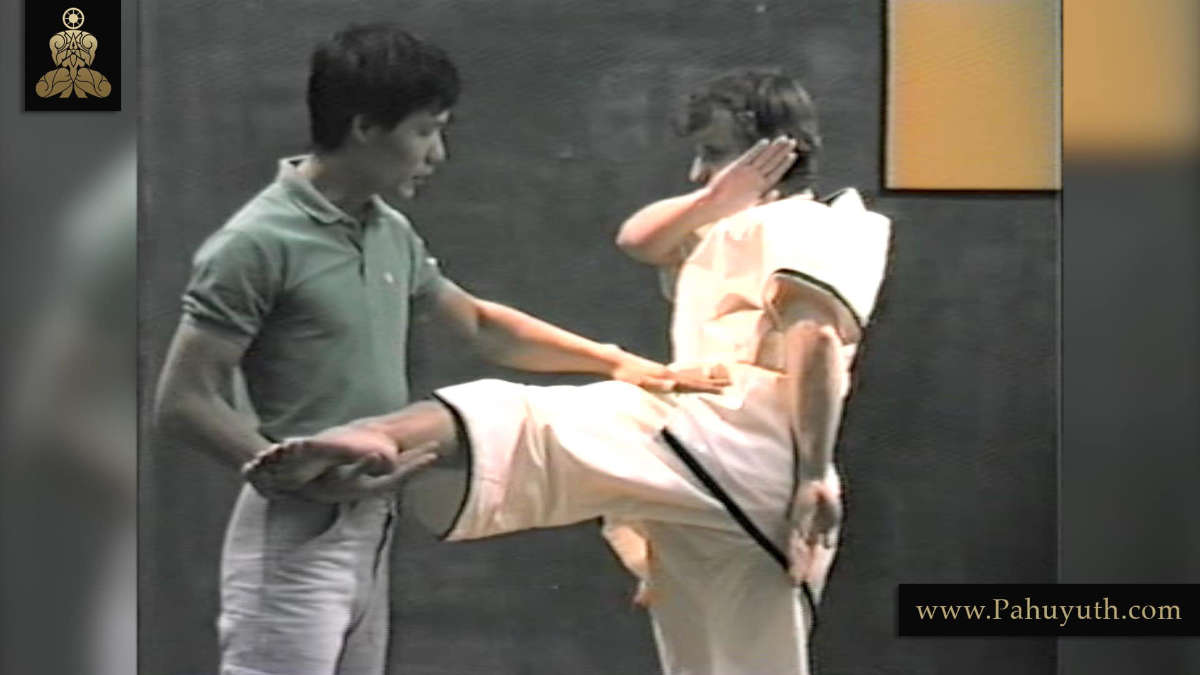
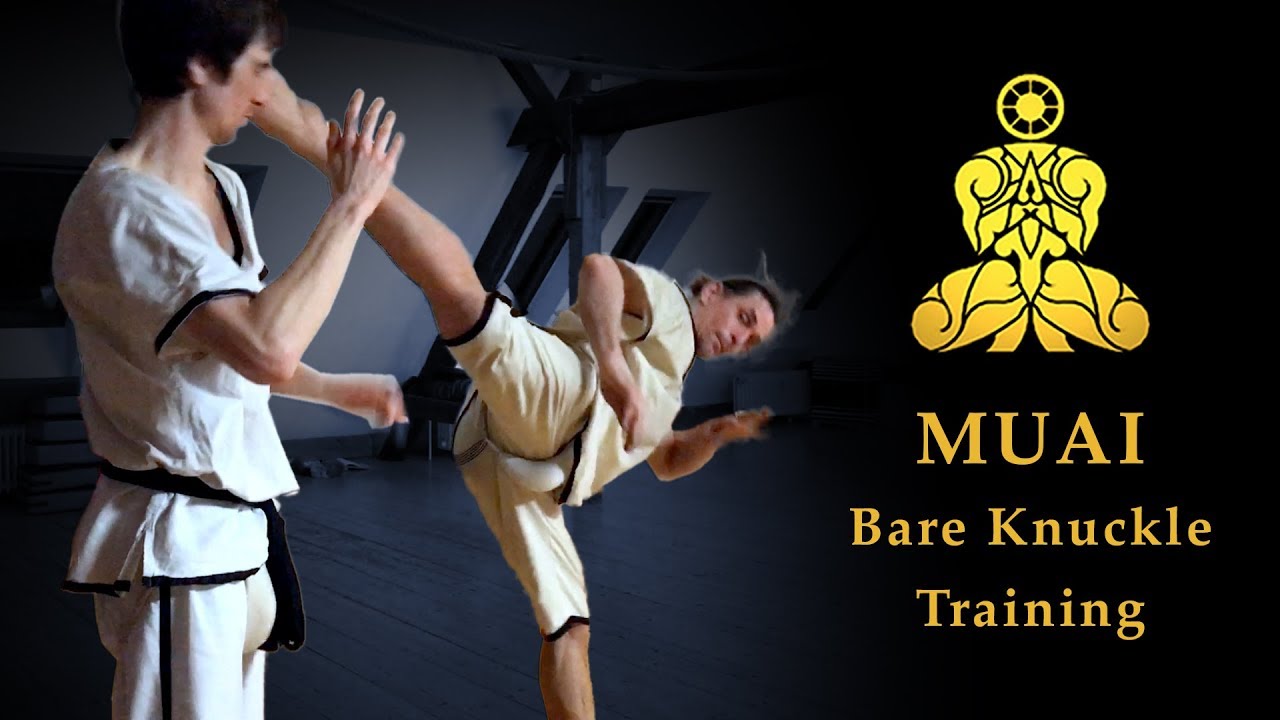
Parallel kick means that you lift your leg and connect to the target in a parallel motion. The technique is shown from the basic stance. The parallel kick connects while moving parallel to the ground. Important for the parallel kick is the rotation of the hip and shoulder.
The hand is positioned down here for protection.This is the basic position. The head is also protected from possible attacks. Kick me – It can occur that you have to defend yourself while kicking or that the opponent simultaneously defends and counterattacks. This possibility exists. Therefore, one should take precautions.
The other side kicks the same way. With the parallel kick you notice that the position of the body is like this and that the guard covers the left and the right side of the body. The parallel kick is very common in Thai martial arts. Make sure that the body remains stable during the kick.
You practice kicking in such a way that you can balance your body and carry your own momentum. Only then you pull the leg back. You do not necessarily have to go back the same way. You can also kick through. You stand like this *kick* and make a full turn. Note that you don’t kick and *kicks* and lose your balance.
If possible, you should practice so that you can control your bodies mass at all times. It is important to note that you do not throw your whole body into the kick, instead you use the rotation of your body for kicking. The body weight rests for the most part on the supporting leg. when you *kick* like this and return. Or you stand like this *kicks* and return to basic stance.
That’s the parallel kick.
You can do the parallel kick in different ways. I show the parallel kick in different body heights. For example.
It also counts as a parallel kick if you squat and kick. Again. With this technique you squat down and kick parallel. I have to execute this technique a bit faster, because it is difficult do it slowly. From this position *kicks* and back again. If you practice alone, you can crouch from the starting position, kick and return to the basic stance.
From the other side. The benchmark is a kick at that height. That’s very easy. Different and a bit more difficult is to do a parallel kick to the neck area. If you practice this on a partner, he should protect himself. Even if you practice with little power, the following always applies: safety first! You stand like this *kicks* and kick at this height.
Even if the hand is held here, the kick can sometimes slip through. If you are not sure that you can perform the technique slowly and safely you let your partner stand in front of you with a raised hand and practice your high kicks.That would be much better.
Again, if you kick the parallel kick in here You have to be careful not to kick just like that. but also pay attention to your own upper body. Most people forget this. The defense during the kick must always be kept.
In later times you practice similar to the first basic technique. The basic exercise. This is the basic exercise.
With the parallel kick you also return to the basic exercise at some point by first bending your knee and then kicking sideways. Seen from the front, you first lift the leg straight up and then move it sideways. Amongst beginners this movement is more round and more curved. Advanced practitioners lift their knee up and then turn sideways. This is the more difficult variation. By pulling up and hitting.
These are the kick possibilities of the parallel kick.
One of the most important and dangerous techniques of the Thai is the so-called descending kick.
The descending kick is different from the ascending basic technique. In that case the leg hit in a straight or slightly lateral upward movement. We have already learned that there is a parallel kick and an ascending kick.
Now it’s all about descending kicks where the leg first rises above the target and then connects in a downward movement. Just like a cruise missile, which makes a parabolic movement and hits in the downward movement. Such kicks are called descending kicks. They are very, very dangerous. You practice them from the basic stance – do a kick!
When you have reached this position, you turn your body and push the kick down. Again. Kick it over there. Yes. Again.You can see that the kick first rises and then descends.
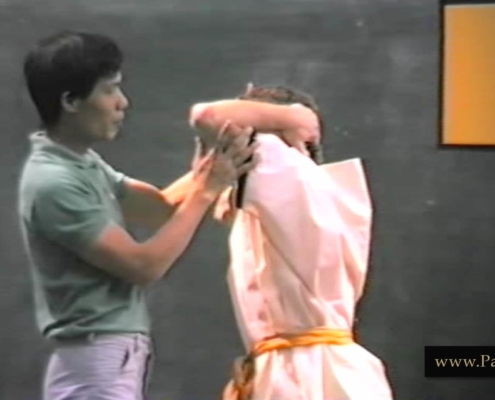
Now I put my hand here and he kicks over it. The kick goes over my hand – other side. For the kick. One more time.
This kick is called a descending kick. Its power comes from the downward movement. You can practice this kick at this height first by simply lifting the leg above the target from the basic stance turn and push downwards
To perform the technique fluently, just stand like this, lift your leg and kick. When you practice with a partner, you must always make sure that safety is guaranteed.
For this kick the following applies: If you are not very good at the previous kicks or do not have sufficient control.I recommend to not practice the descending kick like this. This kick requires more knowledge and skill.
I just want to show that you can also execute this kick at this height. It is possible, but not always necessary. Wenn man übt, empfiehlt es sich so zu üben. This way you can test if you can get high enough and at what height you would hit. At this height you can see that the leg easily goes over the hand.
And not that you’re so… *steps* … *sigh*
Turn the camera off again.
Stand like this. Kick from the basic stance upwards. As soon as the leg has reached the desired height, you turn and kick down.Same with the other side. Kick up… and down.
The Thais kick into the body of the opponent. At all heights, at will. That’s common. I repeat once again.
In the first technique you kick upwards from the basic stance. This is the easiest variant. In the same way, the technique works slightly diagonally upwards. It then also goes from bottom to top.
The second direction of movement is sideways. This is called a parallel kick. With a parallel kick, the leg connects to the target while moving parallel to the ground.
The third kick descends from top to bottom as it connects. It is also executed with the other side.
These three kicks are the basic prerequisites or basic techniques, to which you later add many variants.


